In the first part, I described how I prepared the on-premises cluster with NSX and VMware Avi. Now it’s time to discuss HCX the component that actually made the migration possible without service disruption.
HCX achieves things that at first glance seem almost impossible: it moves VMs between completely disparate environments, extends networks between the cloud and physical datacenters, and preserves the original IP addresses of the workloads during the transition. Stating it like that sounds simple, but configuring it properly requires careful attention, especially regarding the networking side.
Deploying the On-Premises HCX Manager
The first step was deploying the HCX manager in the on-premises datacenter. This is an OVA that gets installed directly into the vSphere cluster and registered with vCenter. The registration allows HCX to view the datacenter inventory and orchestrate the deployment of supporting appliances in subsequent steps.
Following registration, I activated the license and verified connectivity with the source environment on AWS. Here I encountered the first critical checkpoint: communication between the two environments must be open on specific ports TCP 443 and UDP 500/4500 for IPsec tunnels and it is well worth verifying this carefully before moving forward.
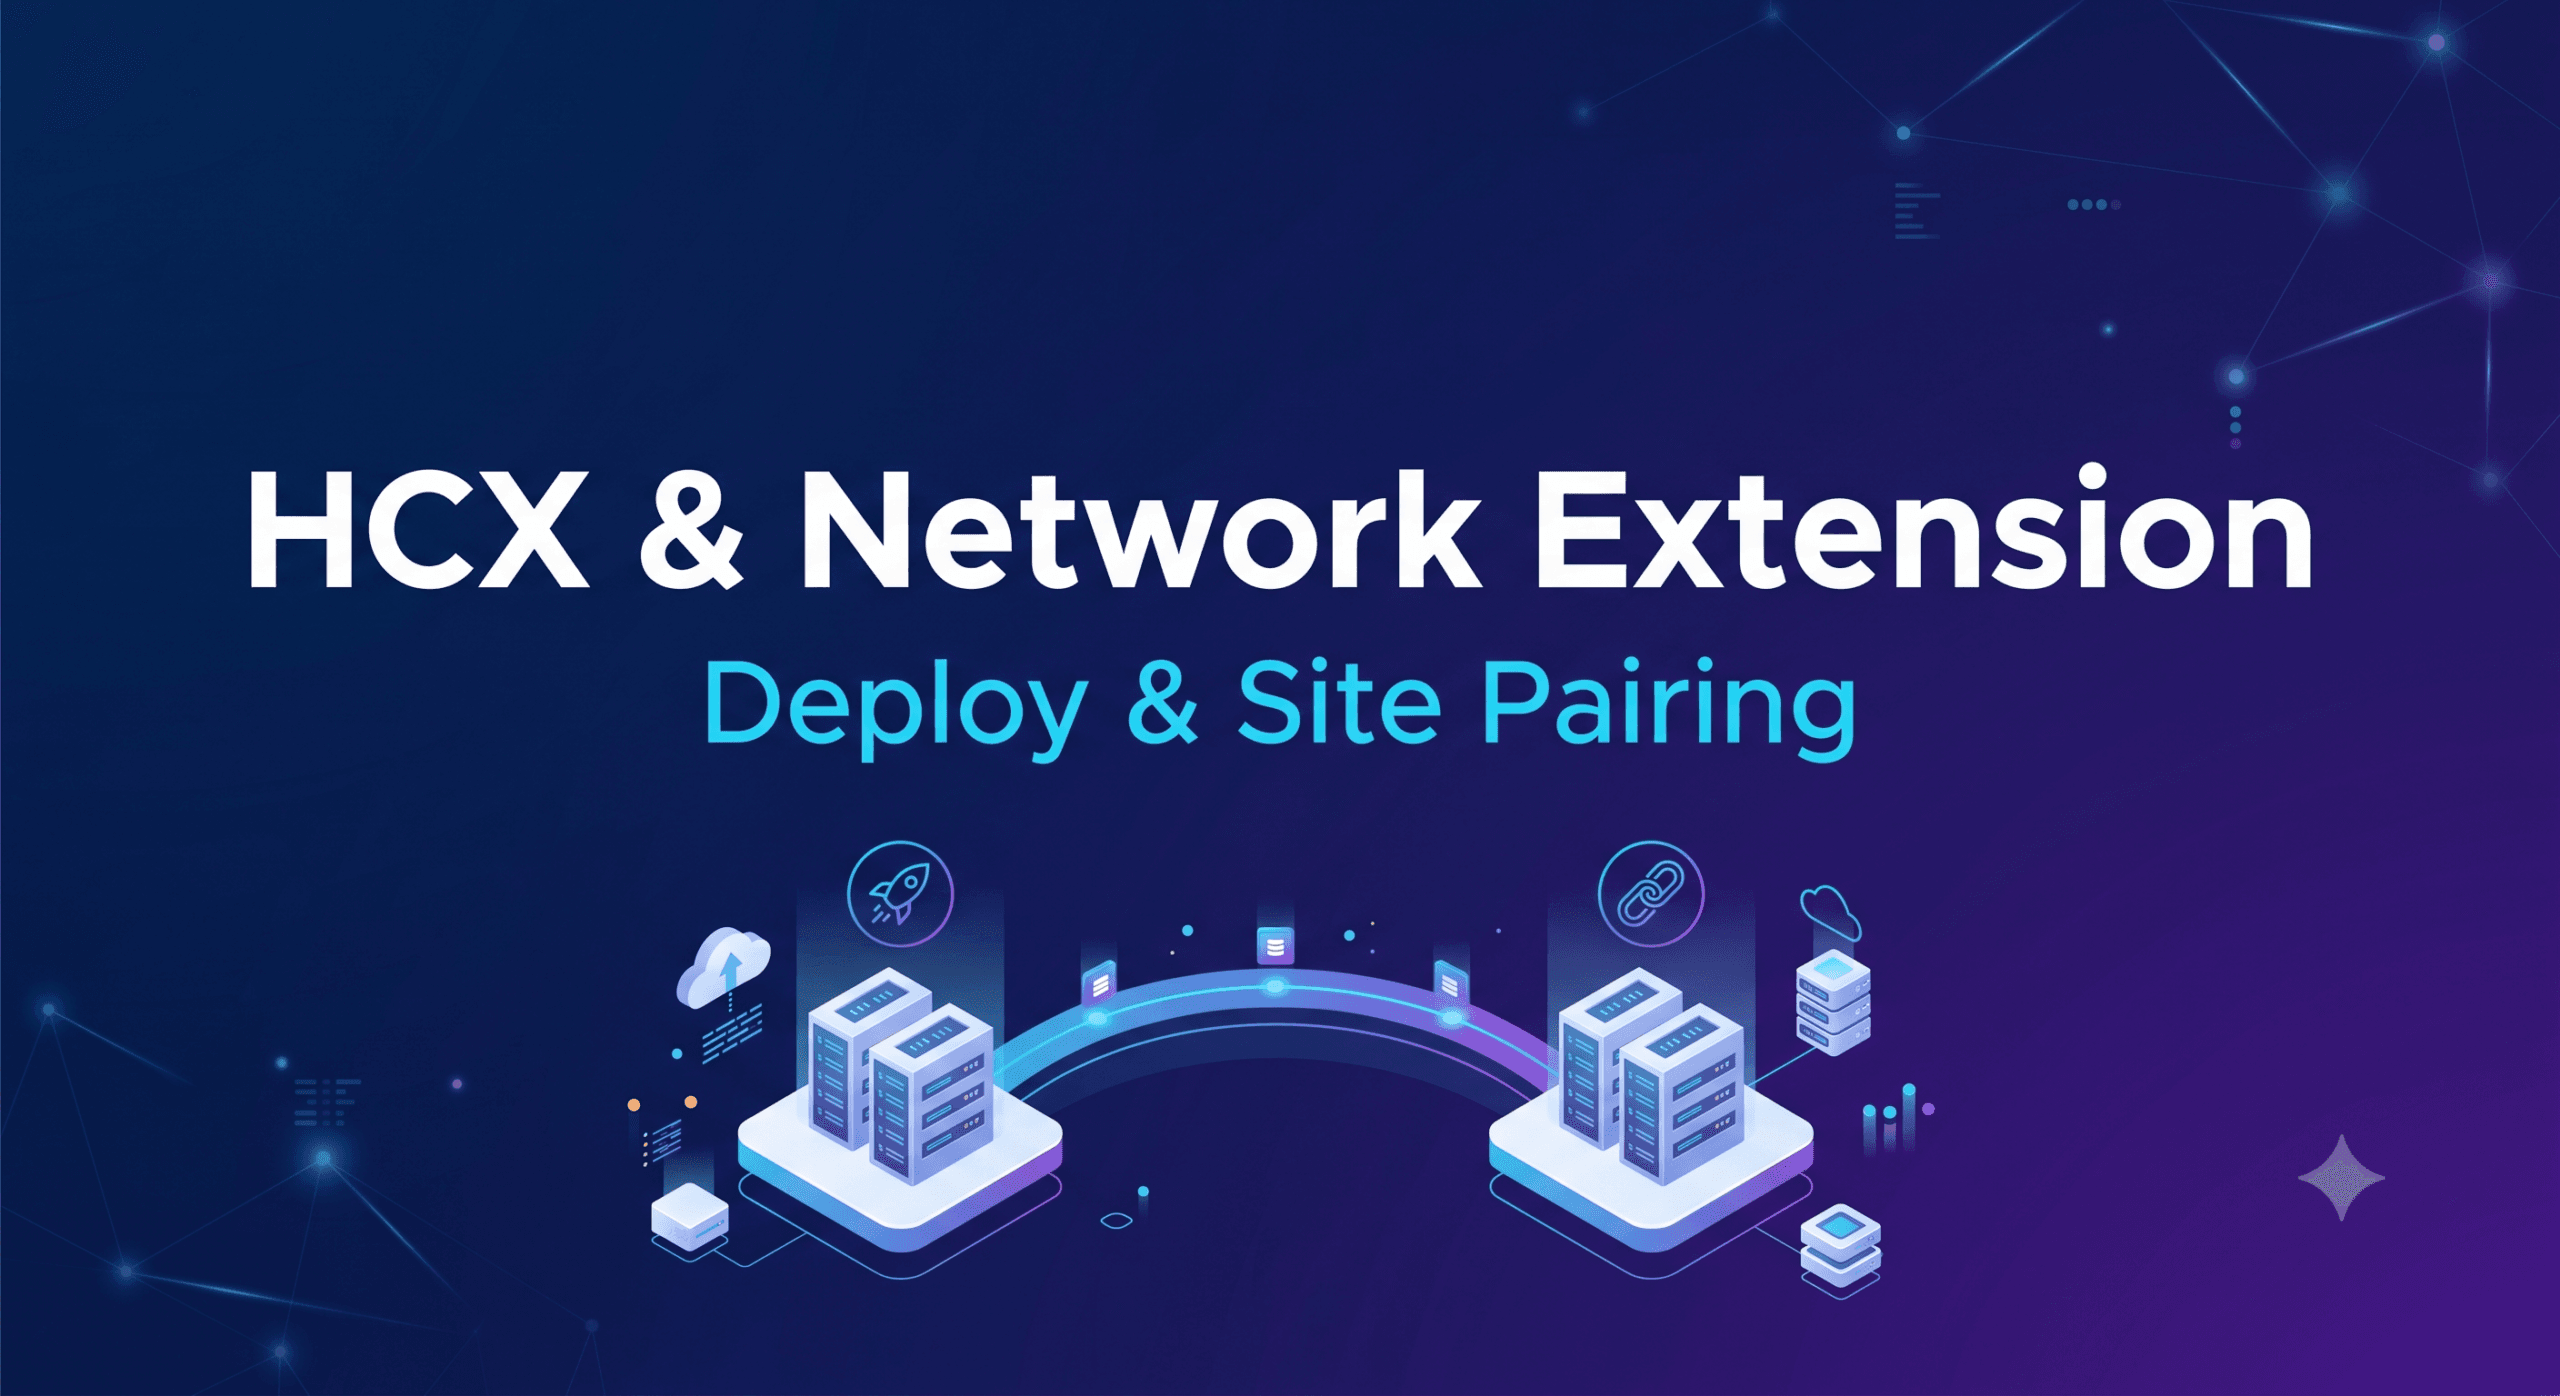
Site Pairing
Site pairing is the moment when the two environments “introduce” themselves to each other. From the on-premises side, I configured the connection toward the remote site on AWS, providing the credentials of the remote HCX Manager.
Once the pairing was established, HCX unlocked the options to create the service mesh, which serves as the actual transport infrastructure for VMs and network traffic.
Service Mesh and Appliances
The service mesh consists of multiple appliances that HCX automatically deploys across both sites. Each has a precise role:
- HCX Interconnect (IX): Manages encryption and the transport of migration traffic.
- HCX Network Extension (NE): Extends L2 segments between the two sites, maintaining IP address continuity.
The most crucial part here was configuring the network profiles for each appliance. HCX distinguishes between management, uplink, and vMotion networks and mixing up these profiles is the fastest way to end up with an unstable environment. I dedicated extra time to this configuration, and it paid off.
Network Extension with NSX
Network extension was the most valuable feature of the entire project. Thanks to the NE appliance, workload subnets on AWS were extended to on-premises as if they were a single L2 segment. Migrated VMs therefore retained their original IP addresses without requiring any application configuration updates.
The coexistence between the HCX network extension and the on-premises NSX segments required some planning. The logic was as follows: during the migration, workloads temporarily traversed the HCX extended network. Once stabilized on the on-premises cluster, they would be moved to the final NSX segments, and the network extension would be removed.
This made the process much safer because at any given moment it was possible to roll back without any application impact.
Final Considerations on This Phase: HCX is a powerful but non-trivial tool. Its configuration requires a clear understanding of the network topology on both sites, and any ambiguity at this stage inevitably impacts migration stability. That said, once the service mesh is operational, the migration process becomes surprisingly smooth. In the next and final post, I will describe how I organized the migration waves, managed the cutover, and performed validations at project completion.
Have you read Part 3? Find the link here.